
Updating Your Version of PreTeXt and PreFigure
PreTeXt and PreFigure are under active development - many people are currently improving them, making them easier to use, adding new features, and fixing bugs that have been identified. While it’s awesome that the user experience is getting better all the time, it also means that users need to frequently upgrade their versions of PreTeXt and PreFigure.
Let’s say you have been working on your PreTeXt projects, either on your local machine or using Github Codespaces. You might notice a bug or a behavior you wish was different, or you might still be happily working. Regardless, it would likely be helpful to regularly read the PreTeXt-support Google Group and the PROSE Discord. I learn a lot from reading and monitoring what other people are talking about, and when I encounter a problem, I often find that someone else has run into the same problem before me. Sometimes, I can chime in with additional information, or even a solution, and give back to the community in that way.
It is also a good idea to upgrade your version of PreTeXt and PreFigure, at least every week or two if you’re actively working on it, and most definitely if you pick a project back up that you have set down for a while. I will give instructions in this post for both local installations and Codespaces. (If you’re using a nonstandard setup then these instructions may not apply, but also, you likely don’t need them.)
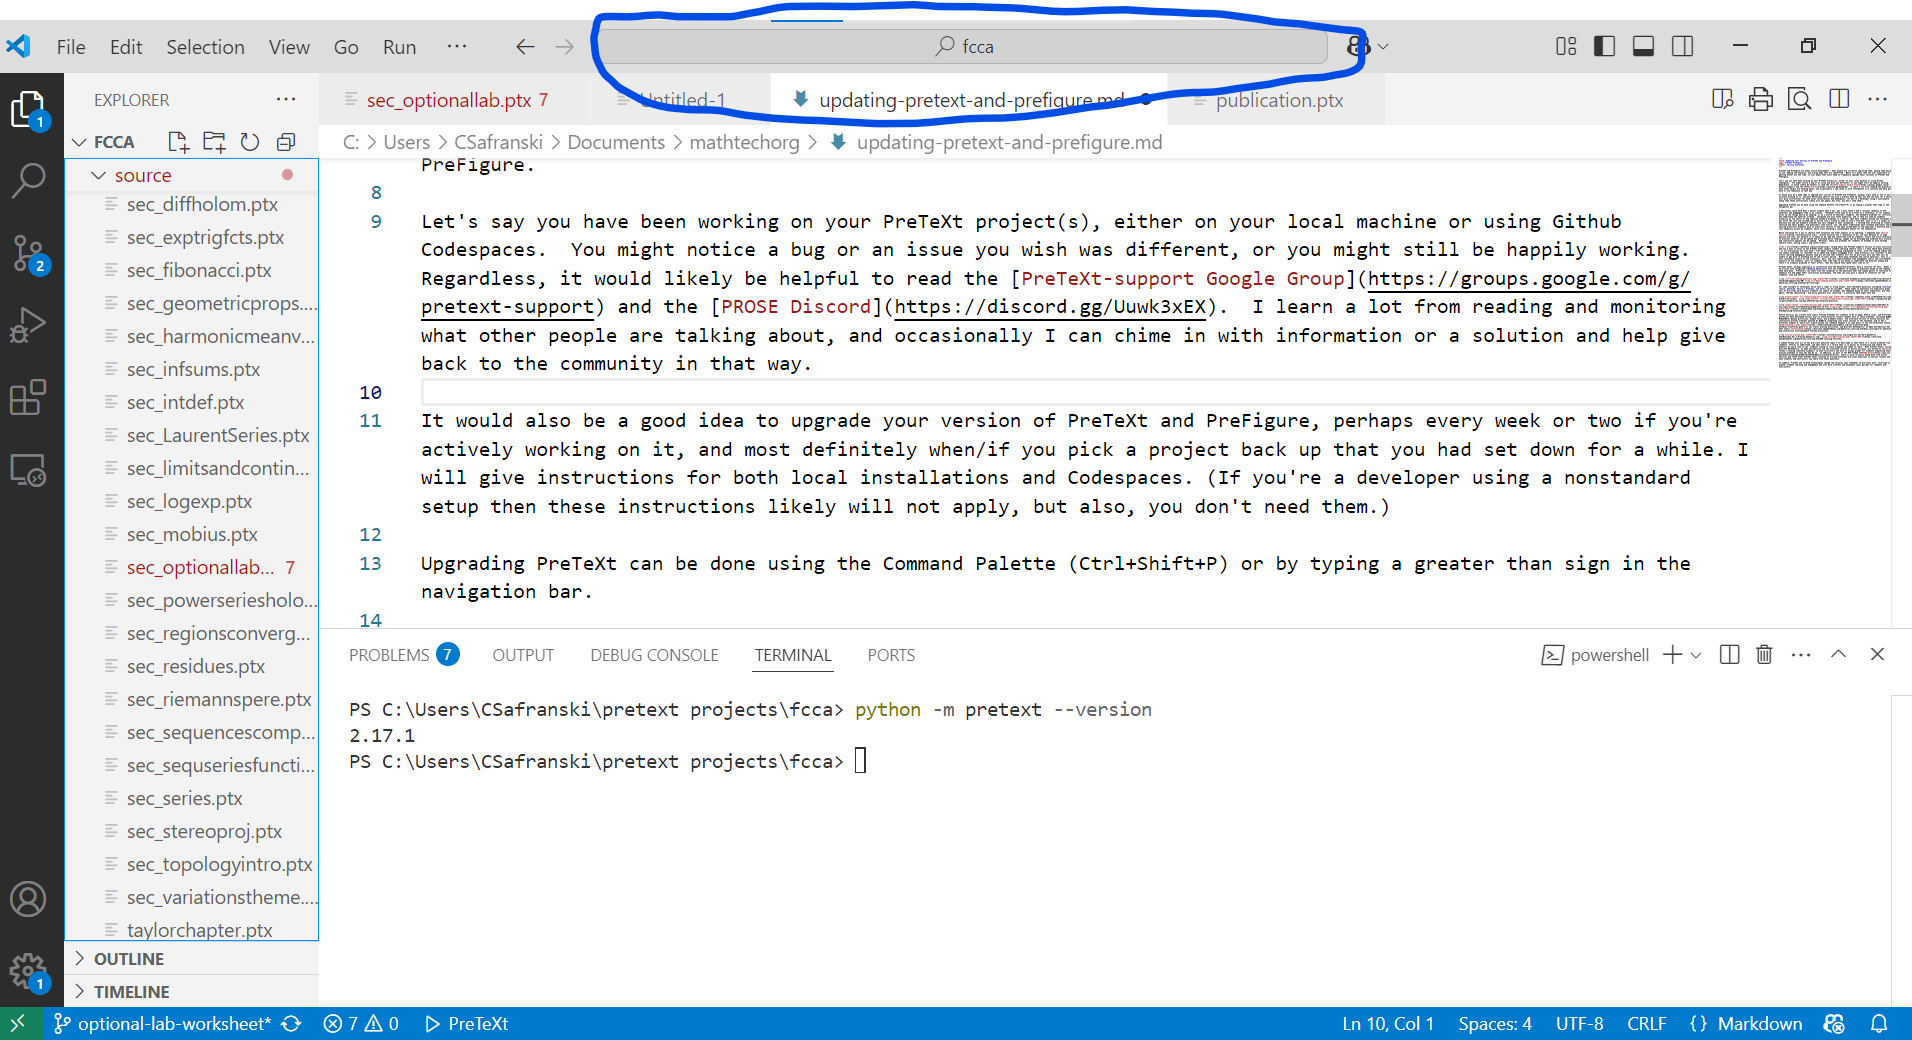
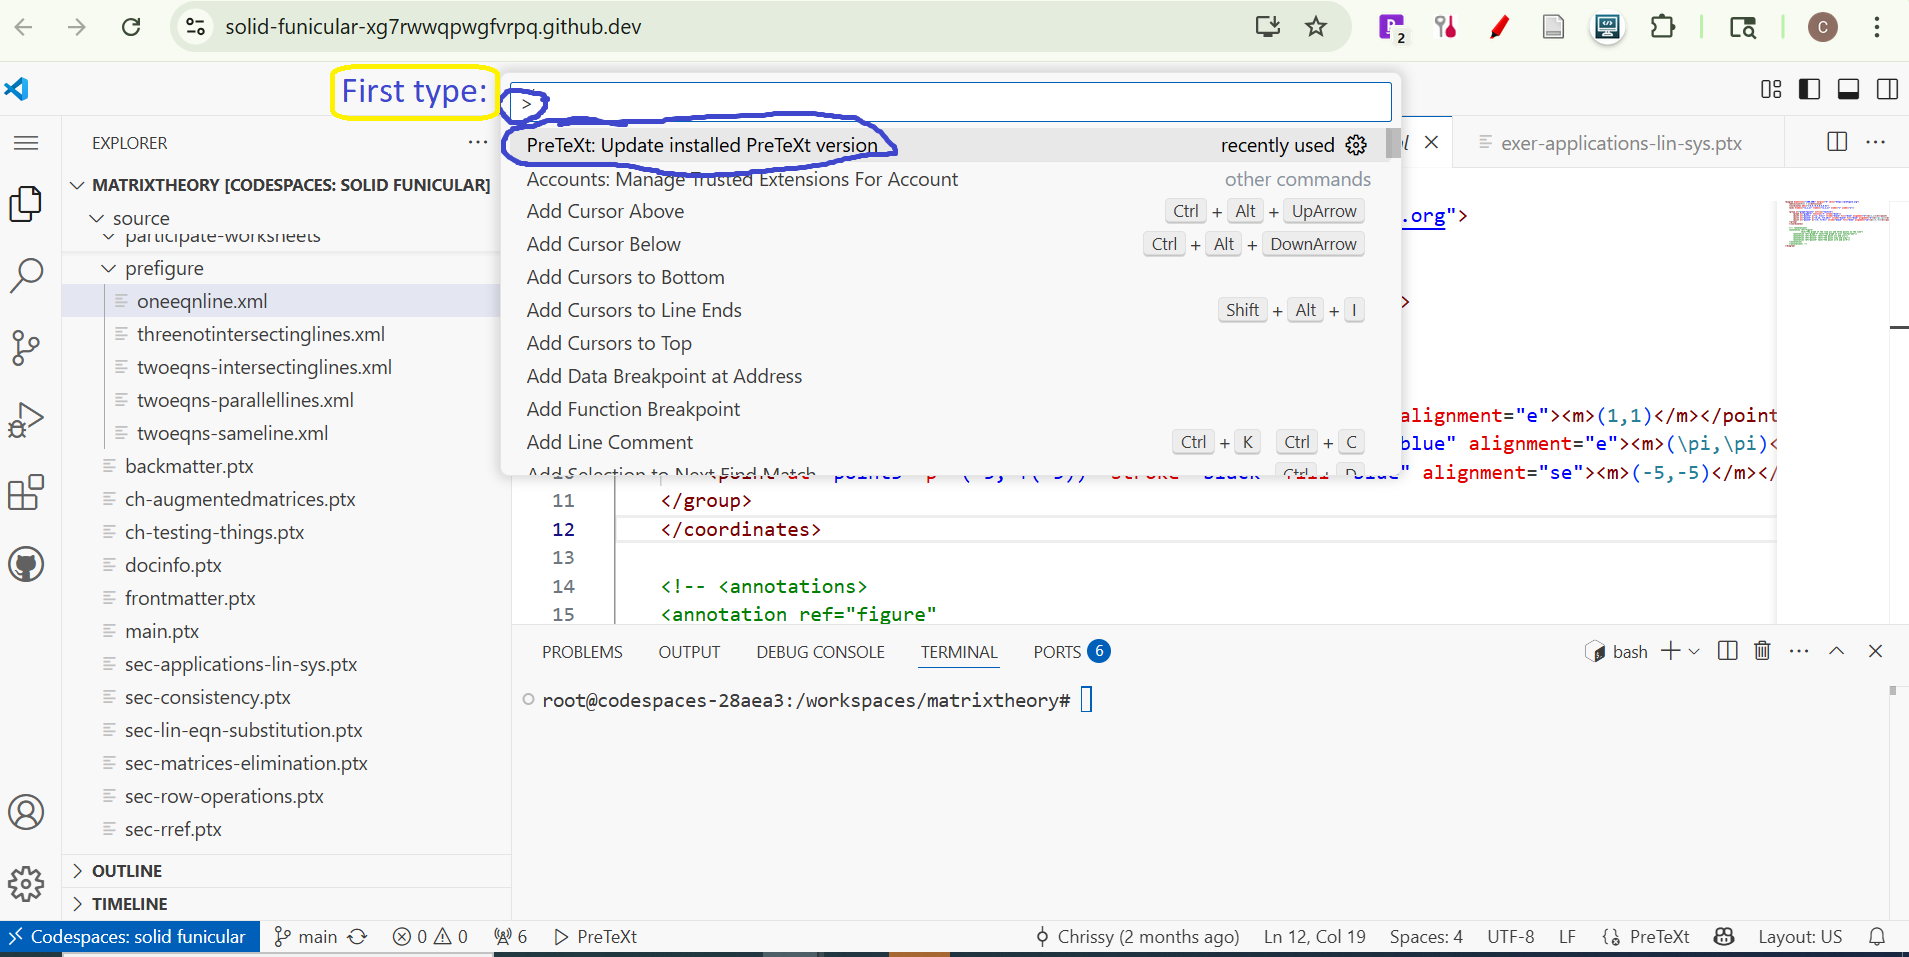
Upgrading PreTeXt can be done using the Command Palette (Ctrl+Shift+P) or by typing a “>” (the greater than sign) in the navigation bar.
| Local Installation | Codespaces |
|---|---|
 |
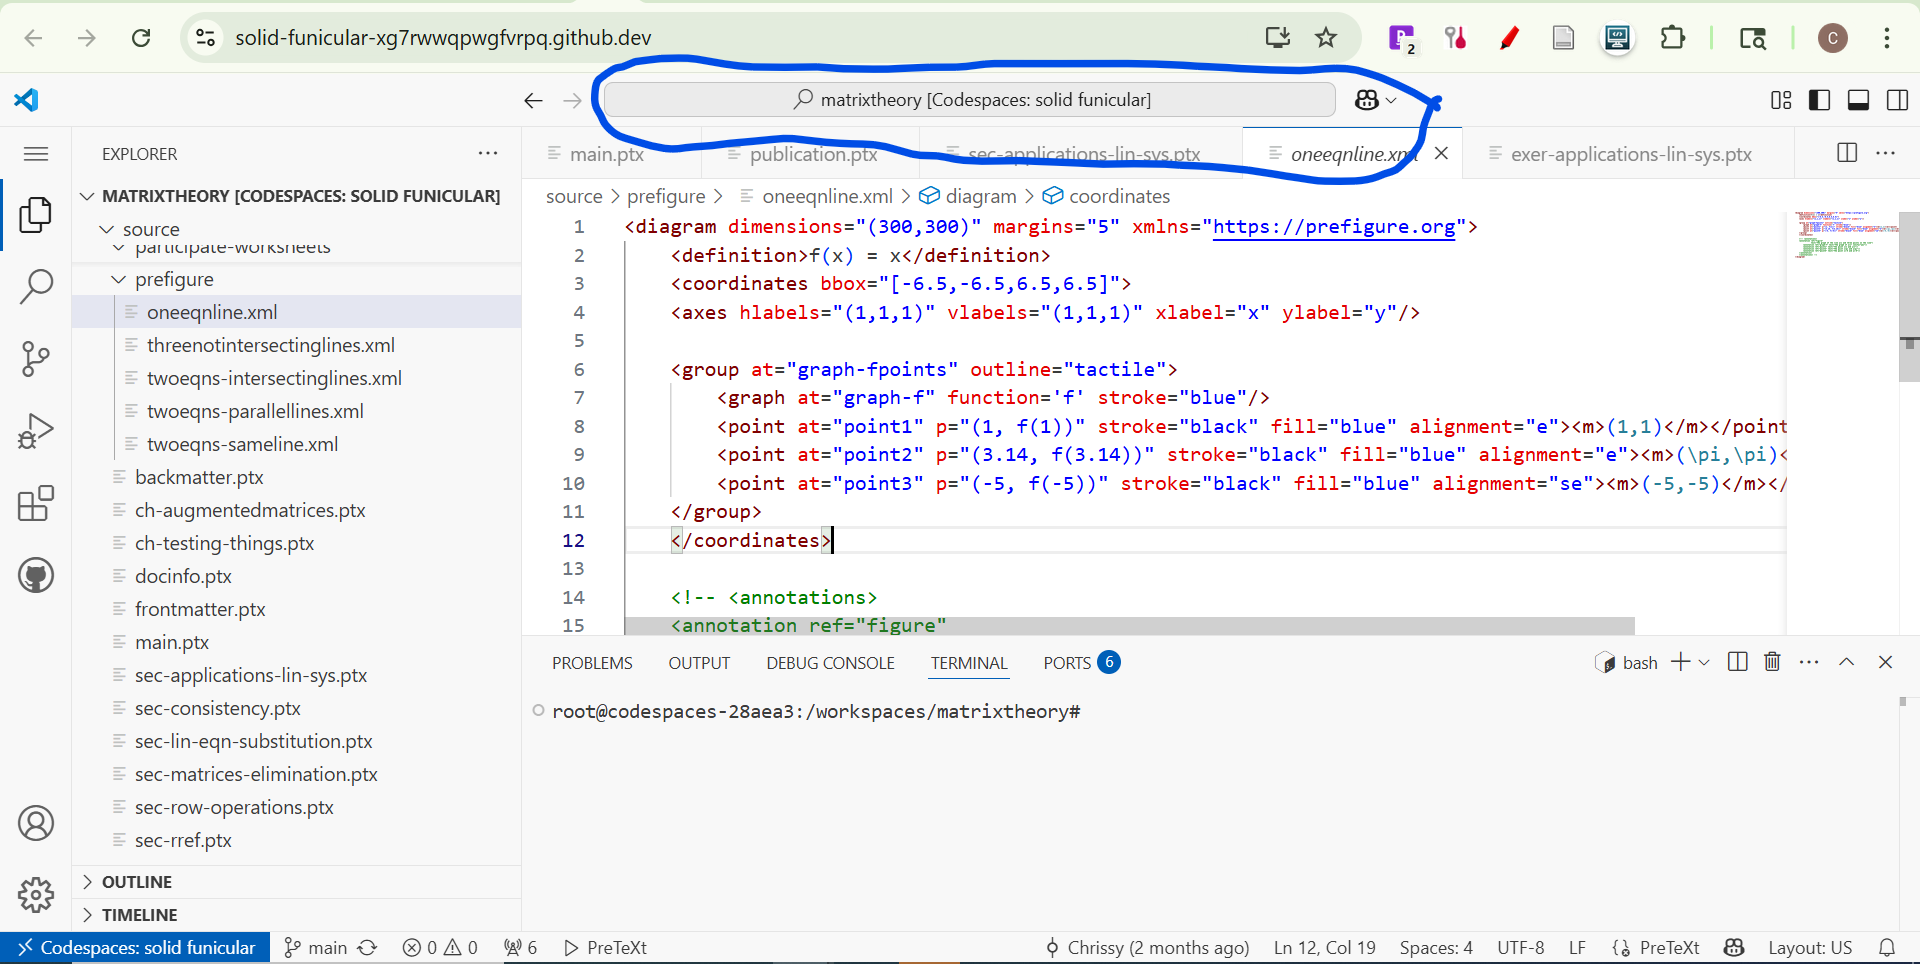 |
In either case, keep typing enough of “Pretext: Update installed PreTeXt version” until you can see and select the command. If your version of PreTeXt is old enough that you don’t see that command, I’ll give an alternative method below.
After typing or selecting that command, you should get a popup within a minute or so that says you successfully installed or upgraded PreTeXt. Hurray!
You may not need to use the terminal for much in order to use PreTeXt, but as of this writing, it is necessary to use the terminal to update PreFigure and the terminal can be handy to use with PreTeXt as well (including an alternate way to upgrade PreTeXt).
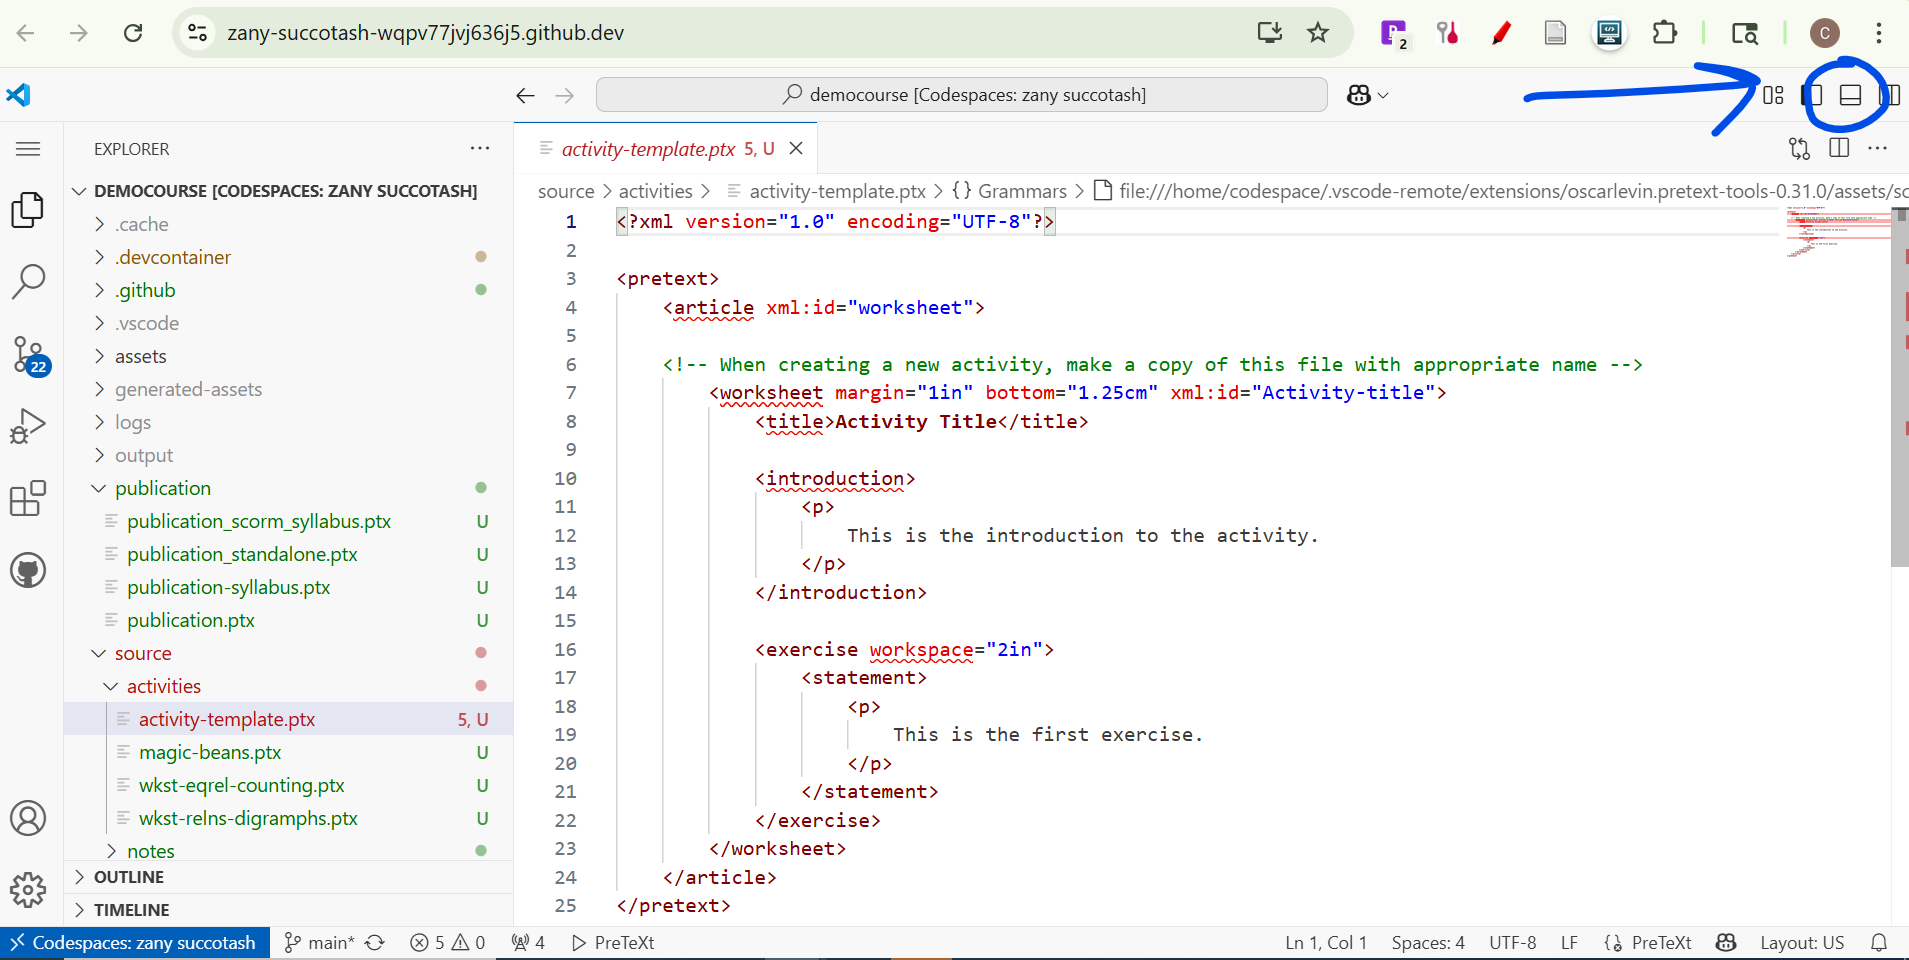
First, if you don’t see the lower panel containing the terminal you can make it visible by toggling the panel.
| Local Installation | Codespaces |
|---|---|
 |
 |
You should then see the lower panel and can select the Terminal.
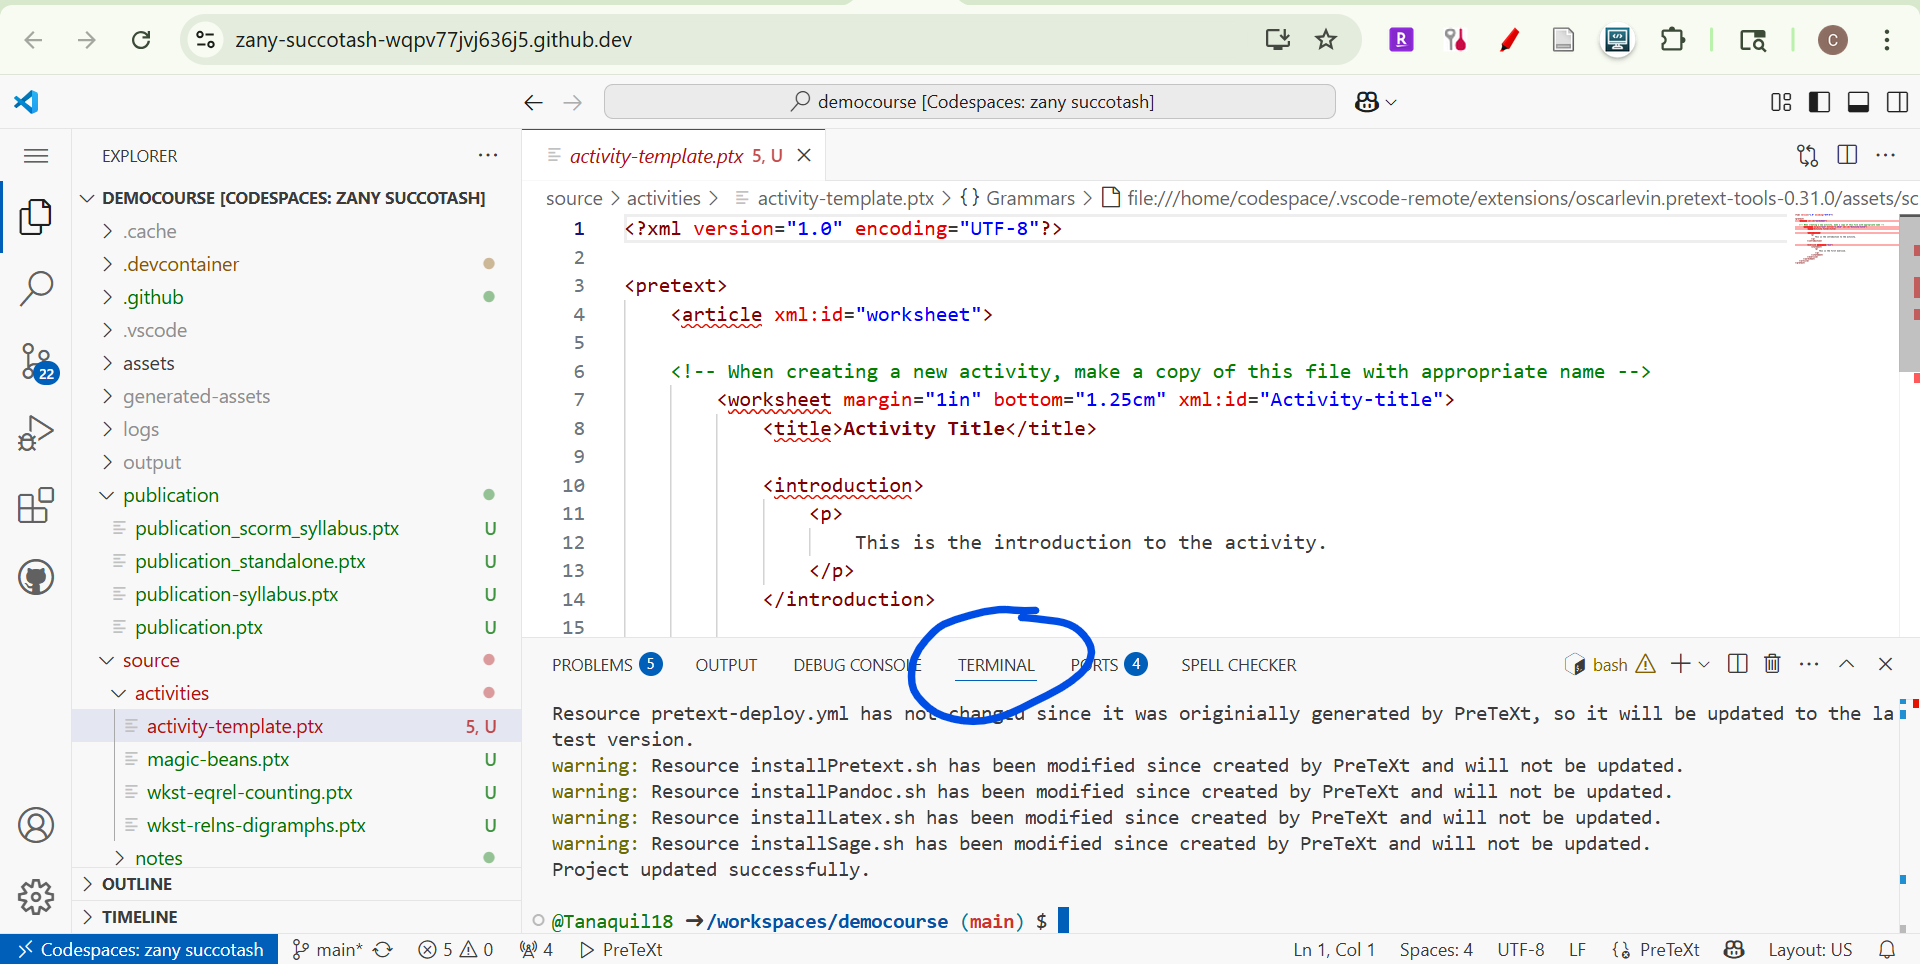
Now you can type (or copy and paste the command below)
pip install prefig --upgrade
into the terminal and hit “enter.”
You’ll see some commands running in the terminal, checking that requirements are satisfied and uninstalling the older version of PreFigure (which is called “prefig” as a program), and the last line should contain something about successfully installing prefig along with a newer version number.
An alternate way of upgrading your version of PreTeXt is to type or copy-and-paste
pip install pretext --upgrade
into the terminal and hit “enter.”
Lastly, to make sure you have all the updated PreTeXt files you should have in your project, type (or copy-and-paste)
pretext update
into the terminal and hit “enter.”
If you’re working locally and you have multiple projects, you should do “pretext update” in each project. If you’re working in Codespaces, you’ll need to upgrade PreTeXt and PreFigure and run “pretext update” in each separate Codespace you have.
That’s it! Now you have the latest and greatest PreTeXt and PreFigure versions to create more great materials with.
Comments